Tokico Spring and Strut Upgrade
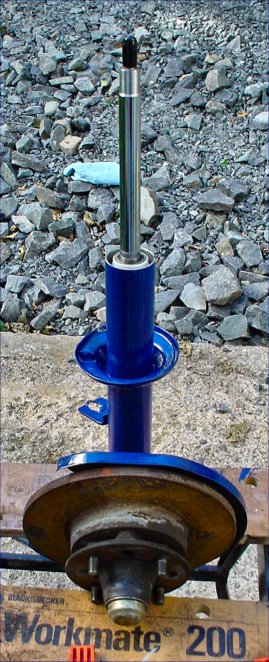
Remove the strut assembly from the car and have a shop safely remove the spring.

Mount the strut on a suitable work bench and remove the old gas insert.
Sand blast or wire brush the rust, treat with a rust neutralizer, and paint if
you feel spanky.
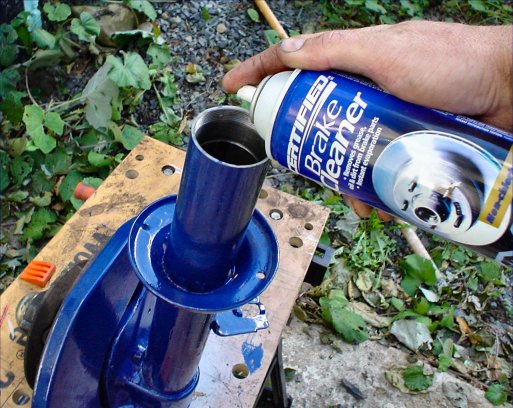
Clean out the inner tube where the new insert and oil will reside. Any
contaminants in here can damage the gas insert.
Tip over and pour out.
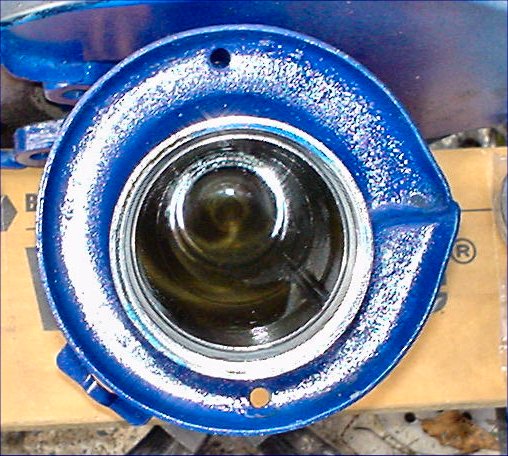
Here is a shot down the barrel. Some oil is in the bottom as I flushed the brake
cleaner fluid out with oil.
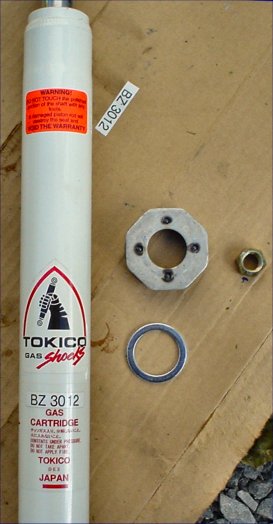
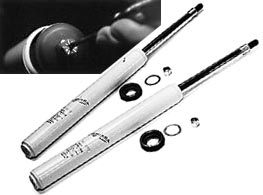
Here is a Tokico front gas insert for a 280z. It has four parts:
Carefully place the gas insert into the strut tube. Care must be taken to to
scratch the piston.
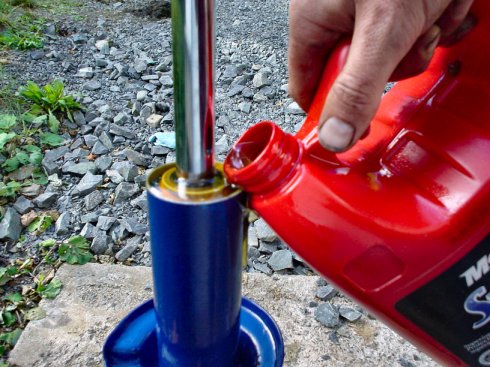
Fill the tube to 1" - 2" below the top (according to Tokico).... the FSM says
350ml but this
results in overflow... I guess the Tokico's displace more space than the
original ones.
As you can see above, I over filled.
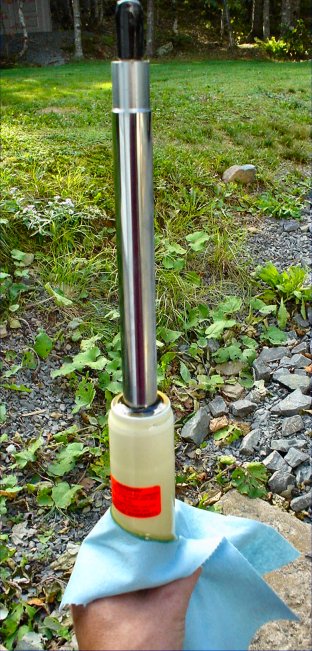
No problem, simply pull the strut up ~ 10 inches and wipe the excess off the
tube.
The above picture resulted in ~ 1" of drop so I did it twice
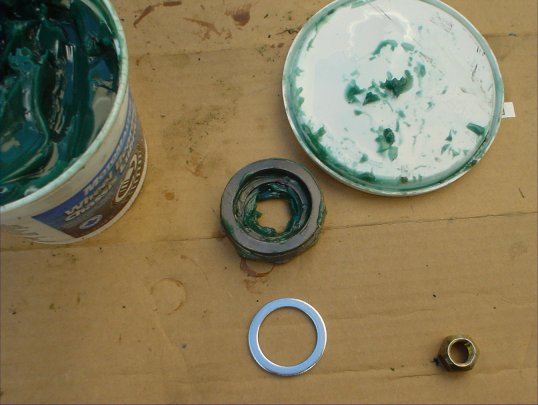
Grease the inside of the gland and threads. (Note, the silver spacer is not
needed for my 77 280z strut)
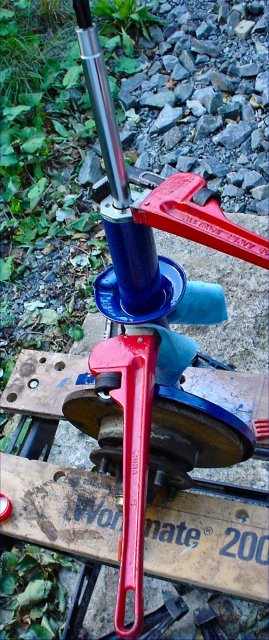
Tighten the gland. The FSM says not to use pipe wrenches... don't tell anyone ;)
Actually the wall thickness is fairly thick and the torque spec is not too high
so it was OK.
A step I could not photograph is next. Simply hold the strut upside down and
compress the piston.
Turn the strut right side up and pull the piston out. Repeat this three
times.
btw the purpose is to remove air from the assembly according to the FSM..
Mount the rubber boot. This is a KYB with integrated bump stop at top.
Note: the plastic wire wraps included with the boots break after a few rides. CV
joint boot wire straps are recommended by Scott Evans.
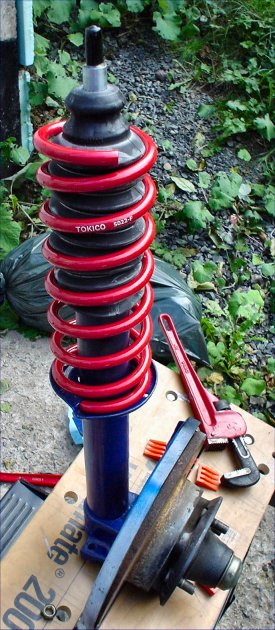
Mount the spring on the strut and rotate the spring until the ends seat in the
correct spot.
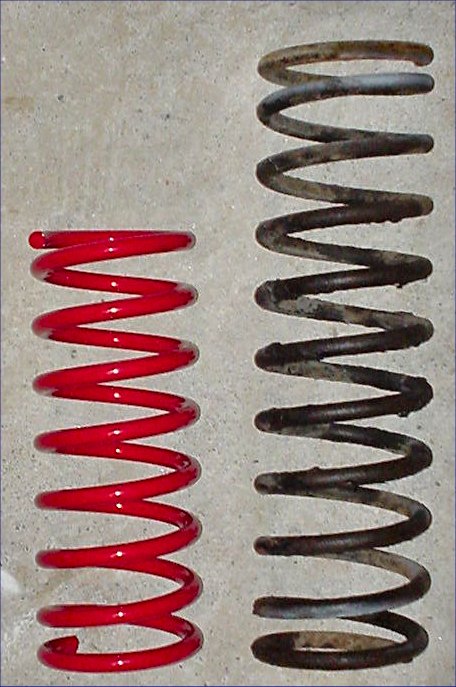
Note the difference between the new Tokico and old stock.
The stock is approx. 4.75" longer and has 11 turns.
The Tokico has only 8 turns.
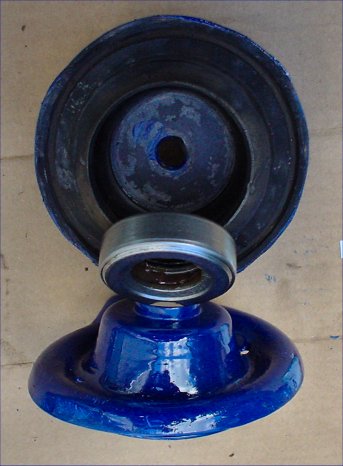
These are the top three components:
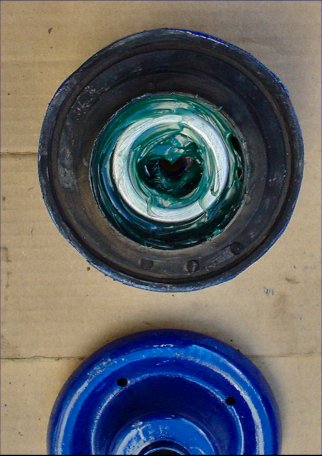
Grease the heck out of the bearing and mount it in the strut mount insulator.
Assemble the three pieces and mount on the strut assembly.
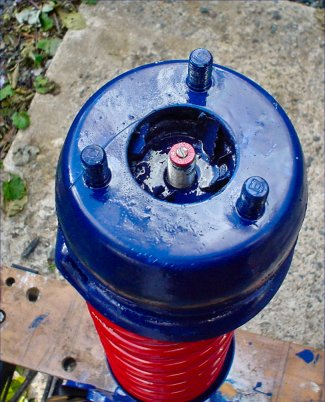
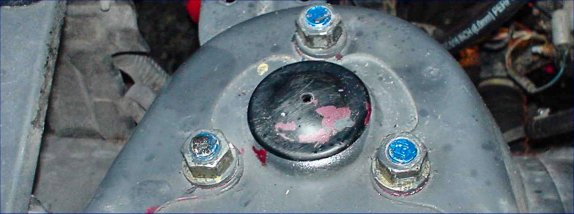
Here is a top view showing the Tokico adjustment location and top of the Strut
Mount Insulator.
Secure the Insulator with the top nut supplied with the gas insert.
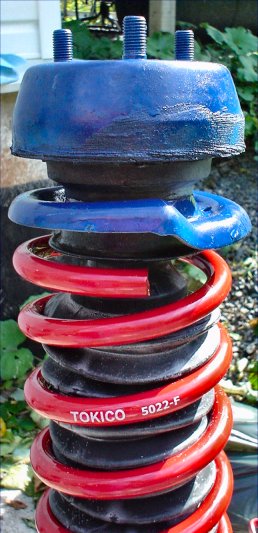
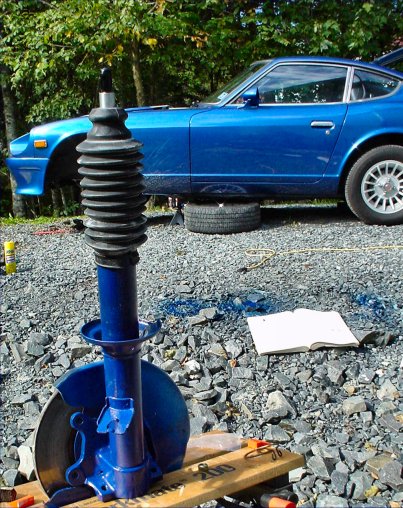
Here is the assembled strut ready for installation.
Note the space between the top of the spring and bottom of the upper
spring seat.
This is normal and the weight of the car will cause the assembly to compress
together.
Note that some use wire or wire ties to hold the spring in place.
The step is easiest with two people. One holds the strut assembly in the wheel
well and pushes it up into
it's proper location while watching the three bolts pop through. The other
attaches the washers and bolts.
The control arm/steering knuckle/ball joint assembly can now be lifted up to
mount to
the strut's bottom.
The strut has to be compressed and the steering knuckle rotated properly to
align the strut's
holes prior to inserting the bolts. Alignment is crucial or else you will be
frustrated as this is
the most difficult part of the job!
Here is another look at what has to be connected. Note the rubber O ring on the
steering
knuckle. I coated the inside of the bottom strut with grease to help seal this
area further.

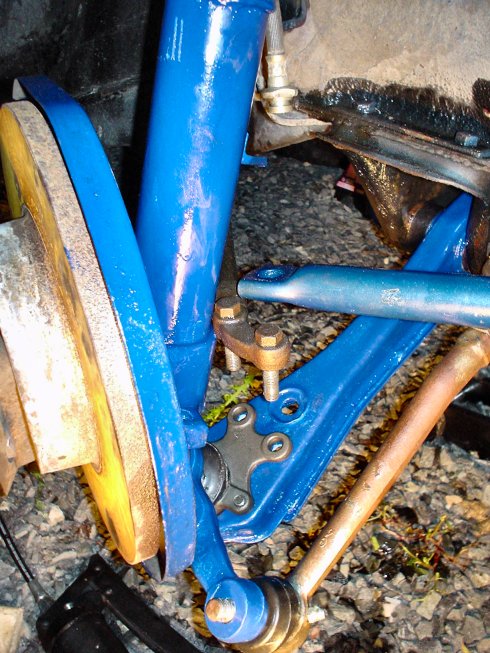
Front End Stock Springs
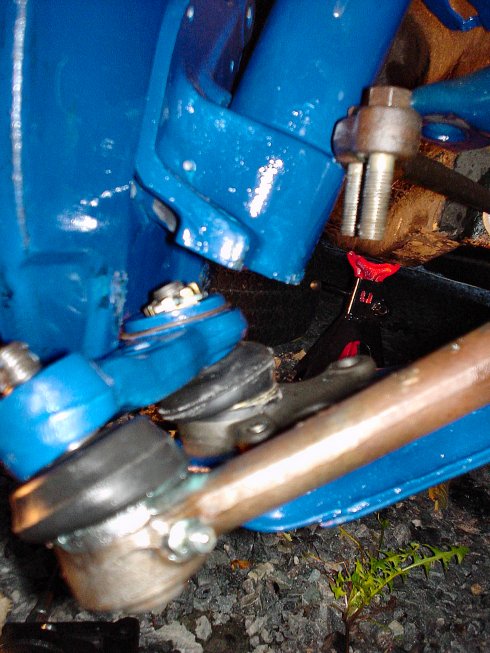
Front End Tokico Springs 1" drop